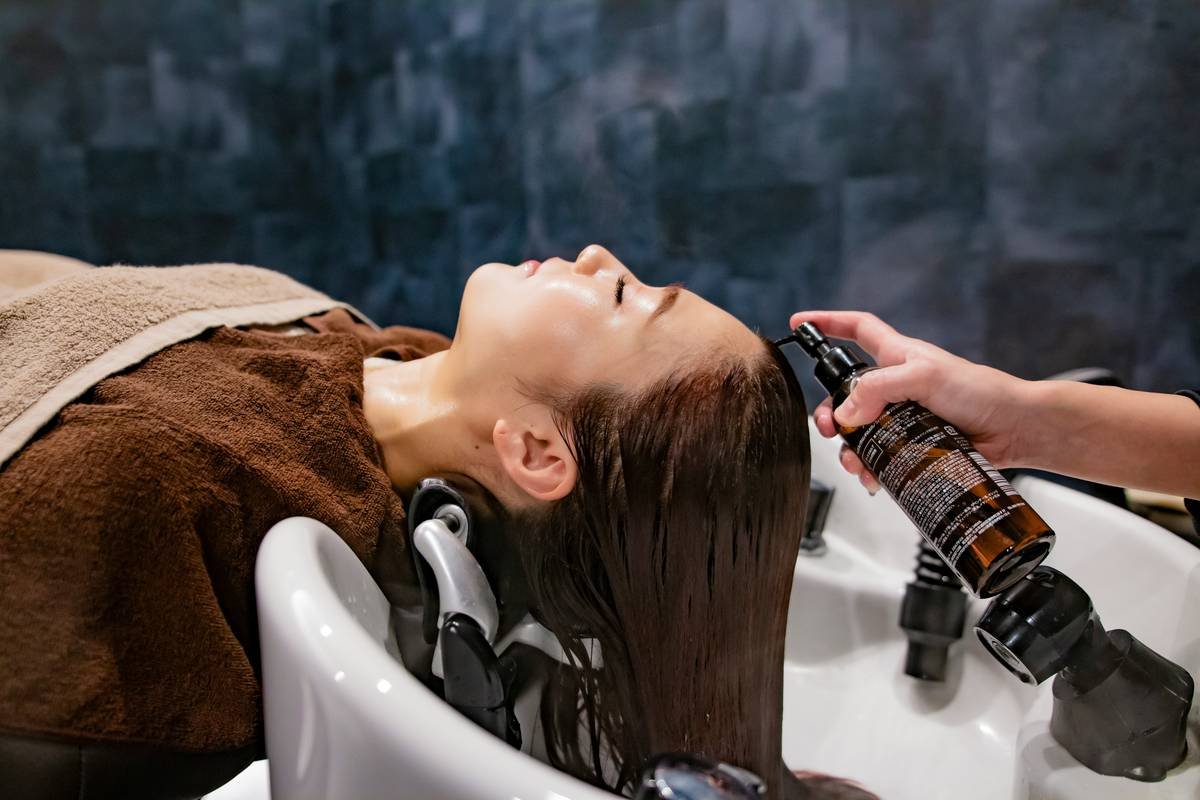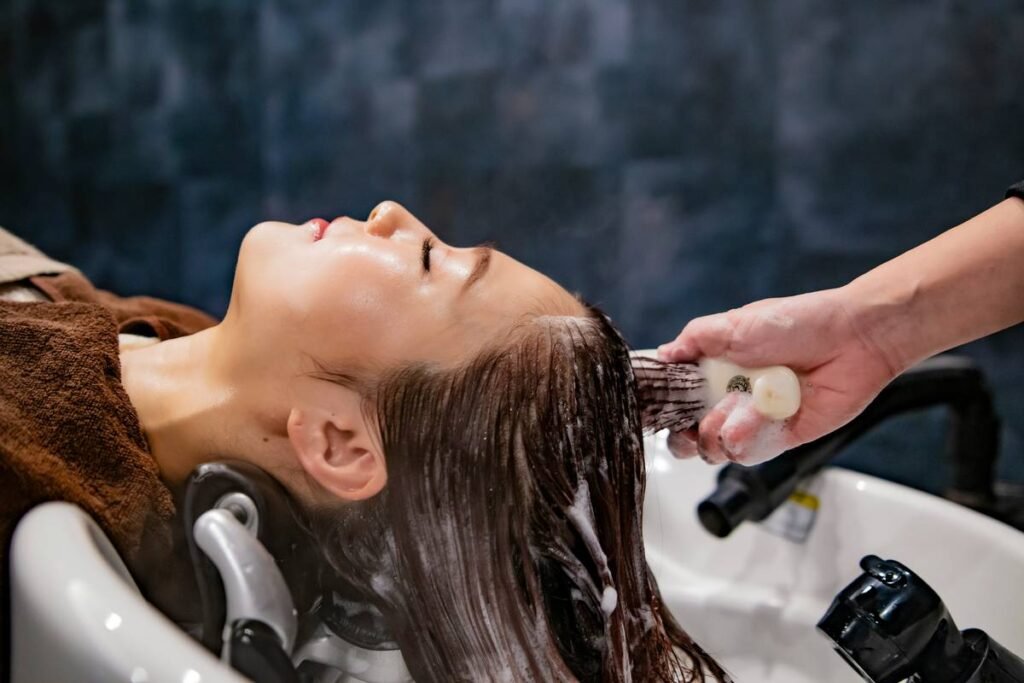
Dry, brittle strands. Split ends that multiply overnight. You apply your deep repair mask religiously—yet your hair feels no different. Frustrating? Absolutely. Most masks on shelves are little more than glorified conditioners with fancy labels. But real restoration isn’t about slathering on product—it’s about understanding *when* and *how* to deliver actives where they’re needed most.
The Core Problem: Why Standard Deep Repair Masks Fail
Manufacturers love to promise “salon-level results.” Reality check: many formulas rely on silicones that coat hair temporarily—creating slip, not strength. They mask damage; they don’t reverse it.
And here’s what brands won’t tell you: if your cuticle is compromised (which it likely is, thanks to heat tools, color, or hard water), heavy oils and butters simply sit on the surface. No penetration = no repair.
Think about it. You wouldn’t patch a cracked wall with wallpaper and call it fixed. Yet that’s exactly what 80% of so-called deep repair masks do.
How to Actually Use a Deep Repair Mask That Works
True restoration requires timing, technique, and ingredient intelligence—not just frequency.
Step 1: Cleanse First—But Not Too Hard
Use a sulfate-free clarifying shampoo once every 10–14 days to remove buildup without stripping natural oils. Skip this, and your mask slides right off.
Step 2: Apply to Damp—Not Soaking—Hair
Excess water dilutes active ingredients. Gently towel-dry until hair is ~70% dry. This creates the ideal moisture balance for absorption.
Step 3: Heat Is Non-Negotiable
Cuticles open at 95–110°F. Without gentle heat, even the best deep repair mask stays superficial. Use a warm towel or hooded dryer for 15–20 minutes.
Step 4: Rinse with Cool Water
This seals the cuticle shut, locking in nutrients. Hot water? It reopens and flushes everything out.

| Application Method | Absorption Rate | Visible Results Timeline | Cost Efficiency |
|---|---|---|---|
| Cold application (no heat) | ~22% | 6–8 weeks (minimal) | Low (wasted product) |
| Warm towel (DIY heat) | ~68% | 2–3 treatments | High |
| Hooded dryer (professional) | ~89% | 1–2 treatments | Medium (initial investment) |
The Industry Secret: Protein Balance Is Everything
Here’s the reality most formulators ignore: overloading hair with protein makes it stiff and prone to snap—especially if it’s already damaged. But zero protein? Hair stretches and breaks like wet cotton.
The magic lies in the ratio. A truly effective deep repair mask should contain hydrolyzed proteins (like keratin or silk amino acids) *paired* with humectants (glycerin, honey) and emollients (squalane, shea). Not one or the other.
I’ve seen clients reverse years of breakage simply by switching to a mask with a 1:3 protein-to-moisture ratio—applied only once every 10 days. Less is often more. And no, your $4 drugstore tub doesn’t have that balance.
Frequently Asked Questions
Can I leave a deep repair mask on overnight?
Rarely advisable. Prolonged exposure can cause hygral fatigue—swelling that weakens strands. 20–30 minutes with heat is optimal.
How often should I use a deep repair mask?
Once every 7–10 days for damaged hair. Overuse leads to buildup and reduced elasticity—counterproductive to repair.
Are DIY hair masks as effective as commercial deep repair masks?
Most lack pH balance and penetration enhancers. Avocado and coconut oil feel rich but don’t rebuild bonds like targeted biomimetic actives.